
Gardening is not only a fulfilling hobby but also a great way to grow your own fresh and organic produce. However, the traditional practice of digging up the soil can be tiresome, time-consuming, and detrimental to the ecosystem below ground. This is where no-dig gardening comes in, offering a sustainable alternative that is easy to set up and maintain. In this step-by-step guide, we will explore the process of setting up a no-dig garden using cardboard and compost.
What is No-Dig Gardening?
No-dig gardening, also known as sheet mulching or lasagna gardening, is a method that eliminates the need for tilling or digging into the ground. Instead of disturbing the soil, layers of organic materials are added on top, creating a fertile environment for plants to grow. This approach not only saves time and effort but also helps to nurture soil health by promoting beneficial microorganisms and preserving its structure.
Step 1: Selecting the Site
Choose an area in your garden that receives ample sunlight throughout the day. It’s important to ensure that it is clear of any existing vegetation or weeds before starting.
Step 2: Clearing the Area
Remove any grass or weeds from the chosen site using a lawnmower or by manually pulling them out. Remove any protruding roots or stones that may interfere with plant growth.
Step 3: Creating a Cardboard Base
Lay down sheets of cardboard directly over the cleared ground, ensuring they overlap by several inches. The cardboard acts as a weed suppressant while also providing carbon-rich material for decomposition.
Step 4: Watering the Cardboard
Thoroughly wet the cardboard with water until it becomes saturated but not overly soaked. This will help it break down more easily and encourage decomposition.
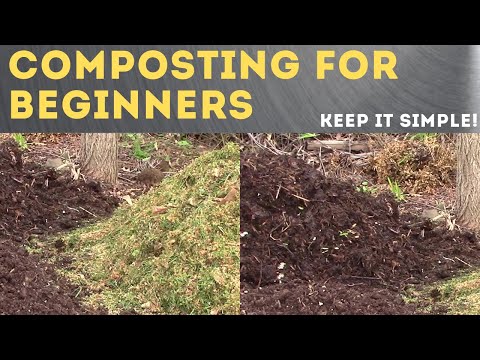
Step 5: Applying compost
Spread a layer of compost, about 4-6 inches thick, over the wet cardboard. The compost can be homemade or store-bought, but ensure it is well-rotted to provide nutrients for plant growth.
Step 6: Adding Additional Layers
Continue layering organic materials on top of the compost, such as straw, shredded leaves, grass clippings, or even wood chips. Aim for a total thickness of around 12 inches.
Step 7: Watering between Layers
Water each layer as you add it, ensuring it is moist but not overly saturated. This will encourage decomposition and promote beneficial microbial activity.
Step 8: Planting
Once your layers are complete, make small holes in the topmost layer to plant your desired vegetables, flowers, or herbs. Gently move aside the organic matter and plant your seedlings or seeds directly into the compost beneath.
Step 9: Mulching
Cover the area surrounding your plants with a layer of organic mulch like straw to help retain moisture and suppress weeds.
Step 10: Maintenance and Care
Regularly water your garden when needed to keep the soil consistently moist. As the organic materials break down over time, you may need to add extra layers of compost or mulch to maintain adequate depth.
No-dig gardening is an excellent choice for beginners or those who want a low-maintenance garden that works with nature instead of against it. By creating layers using cardboard and compost, you can enjoy an abundant and thriving garden without the hassle of digging up your yard. So why not give it a try? Embrace no-dig gardening and witness how simple steps can lead to bountiful rewards while nurturing the health of both your plants and the environment.