composting is a fantastic way to reduce waste and create nutrient-rich soil for your plants. Not only does it help the environment, but it also saves money on fertilizers and soil amendments. If you’ve been wanting to learn how to make compost at home, here is a comprehensive guide with the latest updates.
1. Choose the Right Composter:
Before you start composting, you need to select the right composter for your needs. There are various types available, including bins, tumblers, and open piles. Consider factors like space availability, convenience, and aesthetics when choosing your composter.
2. Gather Organic Materials:
The next step is gathering organic materials for composting. Aim for a good mix of green (nitrogen-rich) and brown (carbon-rich) materials to achieve a balanced ratio. Green materials include kitchen scraps like fruit peels, veggie trimmings, and coffee grounds. On the other hand, brown materials include dried leaves, straw, paper products (shredded), and wood chips.
**Update: You can also compost household waste such as eggshells, tea bags, cardboard (non-glossy), yard trimmings, and even vacuum cleaner dust if it consists of natural fibers.
3. Prep Your Composter:
Ensure proper aeration by adding twigs or small branches at the bottom of your composter before you start layering materials. This allows airflow throughout the pile and prevents it from becoming too compacted.
4. Layer Your Organic Materials:
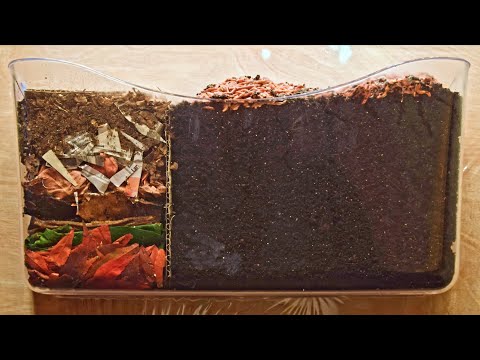
Begin layering your organic materials in alternating green and brown layers in your composter or directly onto an open pile in your yard. This creates a suitable environment for microorganisms responsible for decomposition.
**Update: To speed up the composting process further, sprinkle some finished compost or garden soil on each layer as it introduces beneficial microbes into the mix.
5. Moisture Management:
Keeping your compost moist is crucial for the microbial activity required for decomposition. The ideal moisture level is similar to a wrung-out sponge. If your compost is too dry, sprinkle water over the layers; if it’s too wet, add more dry brown materials.
6. Turn and Monitor:
For optimal decomposition, regularly turn your compost pile using a garden fork or compost turner. This helps mix the materials and ensures even airflow. Additionally, monitor the temperature of your compost pile, which should ideally reach between 135-160°F (57-71°C). This high heat kills any weed seeds or pathogens present.
**Update: To monitor your compost pile more accurately, consider using a compost thermometer or temperature probe that provides instant readings.
7. Balance and Adjust:
If you notice any issues with your composting process, such as smells or slow decomposition, adjust the balance of brown and green materials accordingly. Adding additional brown materials helps control odors while adding more green materials increases nitrogen content.
8. Harvesting Your compost:
After 2-3 months, depending on environmental conditions and diligent maintenance, your compost should be ready to use in your garden! The final product will be a dark, crumbly material with an earthy scent. Your plants will thrive on this nutrient-rich fertilizer.
**Update: You can double-check readiness by performing a germination test using leftover seeds or plant cuttings in pots filled with your finished compost.
Making compost at home is a gratifying experience that contributes positively to both your garden and the environment as a whole. By following these steps and incorporating the latest updates, you’ll have nutrient-rich soil ready to nourish your plants in no time!


